Create the perfect homework station or school supply organizer with these School Supply Labels made with Cricut, adhesive vinyl and free school supply cut files.
This is a sponsored conversation written by me on behalf of Cricut. The opinions and text are all mine.

I absolutely LOVE school supplies! Can you relate? I don’t know why, but as far back as I can remember, I have loved shopping them. A new box of crayons or markers can always put a smile on my face.
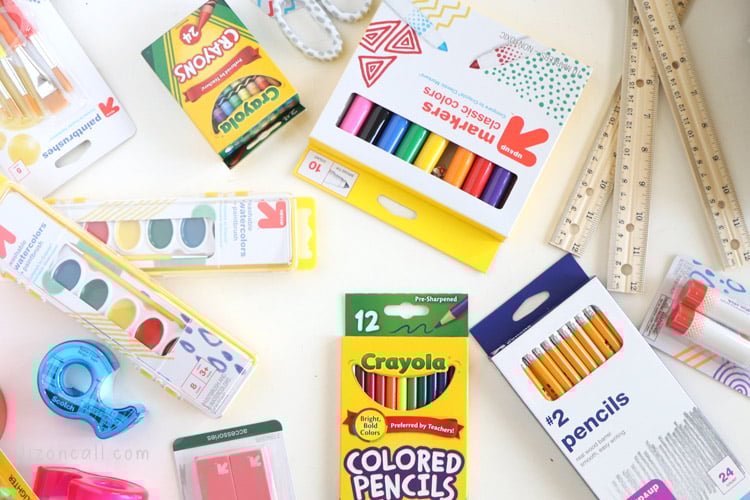
I mean, just look at all those bright colorful boxes! Luckily now with 3 kids in school, I have a real reason to peruse the school supply aisles. We recently not only purchased the supplies from the school provided lists, but also bought some to have on hand at home.
Knowing I wanted to have a stash of school supplies at home, I needed to come up with a way to keep things organized and easily accessible. I found these cute plastic cups and thought they would make the perfect holders for all the supplies. But of course, being the crafter I am, I couldn’t just leave them as is.

This is one of those times when I just love having a Cricut Maker handy.
For this project you will need:
Cups/Jars/Vases for holding School Supplies
School Supplies
How to Create School Supply Labels
Upload the free school supply cut files to Cricut Design Space. See this video on how to upload an SVG to Cricut Design Space if you are not familiar with this process. Once the file is uploaded, open the file onto the canvas of Design Space. Ungroup the file so you can remove any of the school supply labels you won’t need for your project. Just select the labels you don’t need and delete them.

Once you have the labels you want to work will left, resize them to fit your project. You can rearrange and move them around on the canvas. Select them all and click attach so they will cut out the way you arranged them. Click the green make it button. Click continue on the cutting mat screen and then choose your Maker machine, material type and load the vinyl into the machine to cut.

Unload the mat from the Maker once the vinyl is cut. Use the weeding tool to remove any of the unwanted vinyl. Cut the labels apart and cover with transfer tape.

Remove the paper backing on the labels and place the labels onto your jars, bins or cups or whatever you will be adding these vinyl labels to. Smooth them down really well and then gently remove the transfer tape.

The last step, might just be my favorite. Filling all the cups with the glorious school supplies!

These labels make a great addition to any homework station. They would also be cute on bins in the classroom for students use or for use on a teachers desk. There are 35 different labels included in the cut file. Hopefully all needs are covered in these labels.
Will you be using these in the classroom or at home?
Happy Crafting!
Liz


Liz Call
Owner at Liz on Call
- Free Mom Cut File
- Bunny Cut File
- Floral Heart Cut File
- Bathroom Signs Cut Files
- Easy Pressed Flower Wall Art
- Disney Lettering Practice Sheets
- Cricut Projects for Beginners
- No Sew Minnie Bow
- No Sew Disney Cruise Fish Extender DIY
- Make Your Own Planner Stickers with Cricut
- Minnie Mouse Headband Tutorial
- Magnet Board for Stainless Steel Fridge

Comments & Reviews
Having trouble downloading your school supply label template can you please help? Thanks
send me an email at lizoncallblog at gmail dot com
Hi Liz! Can’t wait to use these in my classroom for group supplies. Can you tell me what the font is so that I can make matching labels for the rest of the supplies? Thank you so much for these. You saved this teacher a lot of time.
Oh thank you! These are actually hand written. If you email me some of the other supplies you need labels for, I can write them up and send them over to you. Email me at lizoncallblog at gmail dot com Thanks.
I love this! I downloaded it and used it in my classroom. I am wanting to make other labels for other things using the same font. Is there any way you can tell me what font this is? Thank you!
Thank you. These labels are hand written. so I don’t have a font for you to use. Email me with some other labels you need and I can get some made up for you. Thanks.