Add a fun touch of DIY to your music bag with this hand lettered for the love of music cut file.
This post contains affiliate links which mean I make a little something if you purchase through the link with no extra cost to you.
For the last couple months my daughter has been asking to take piano lessons. With the new school year starting, all the music lessons are starting up again. We decided to sign her up for her first year of piano lessons and she can’t be more excited! We have a piano being delivered this week and I have to admit, I’m a bit excited myself.
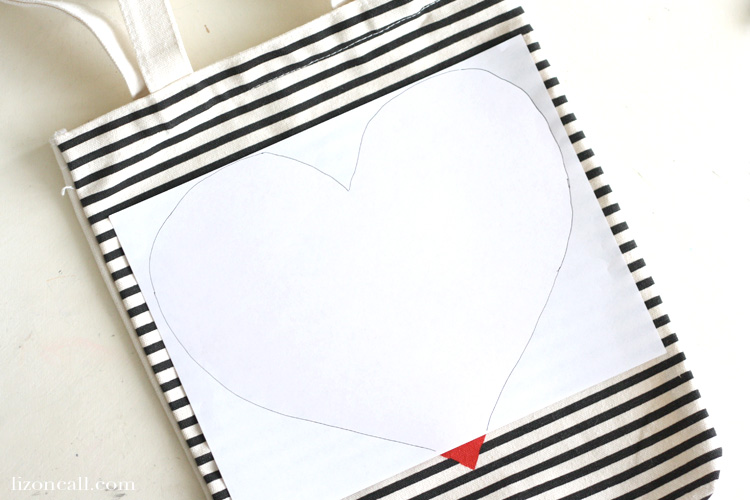
I knew she’d need a music bag to hold all her piano books, and I had this black and white striped bag with the heart in my craft stash. I thought it’d make a great music bag. It was the perfect size. But in true Liz on Call fashion, I had to add some personality with a little hand lettering and heat transfer vinyl. I laid down a paper and traced the heart.
I then created a hand lettered saying and layout for the inside of the heart. I first sketched it in pencil so I could change anything that I didn’t like and erase my mistakes.
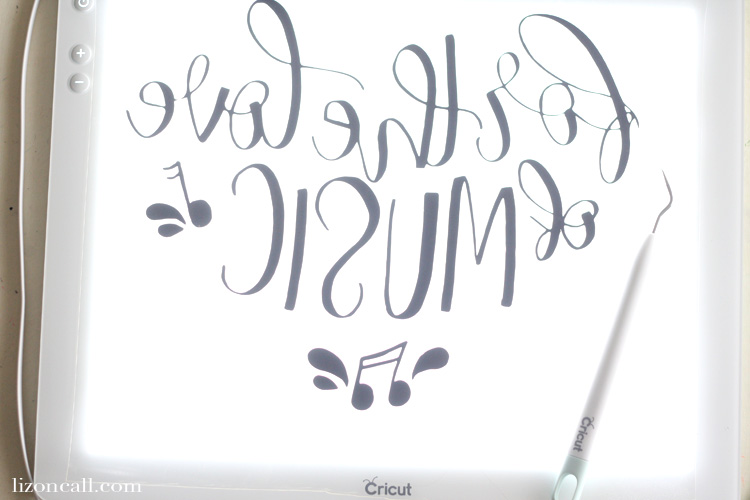
I put my sketch onto my Cricut Bright Pad and covered it with another sheet of paper. I used my Tombow dual brush pen to trace over it to create my final design. Tombow dual brush pens are my favorite for creating my final design. The bright pad was so awesome for creating my final piece. I loved that I could make the light brighter if I needed or lighten it up if it was hurting my eyes. And it is super light weight.
Once I had my final piece, I scanned it into my computer and created a cut file. I uploaded my cut file into Cricut Design Space. If you’re not sure how to upload a file to design space, check out this post on how to create a custom t-shirt. Once the file was uploaded to my images library, I clicked on it and inserted it into design space.
I made sure that it was the correct size for my project. Now my bag already had the heart on it, but even though your project won’t have a heart or the same exact heart shape, you really don’t need it. It looks just as cute even without an outline of a heart.
Since I was going to be cutting this out of heat transfer vinyl, I knew that I would need a mirror image of my design.
I loaded my mat with my heat transfer or iron on vinyl and turned the dial to iron on. I loaded my mat into my Cricut Explore Air 2 machine and pressed the go button.
Vinyl can be hard to weed sometimes. Especially if they are intricate designs with small pieces. The Cricut Bright Pad is also great for weeding vinyl. The light shines right through all those tiny lines.
Of course I had to have the right tool for the job, and this weeding set of tools is awesome! All types of hooks and tweezers for weeding vinyl.
Once I had all the extra vinyl weeded out, I was ready to iron on my design to my music bag. And remember, we want that mirror image for this project.
I ironed on my design and once cooled I peeled off the plastic cover and our project was ready!
She can’t wait to fill this bag with all kinds of music books to practice and to learn the piano. I love that she is excited to play the piano and hope she keeps that excitement for a long time.
You can purchase this SVG Cut File in my shop if you are wanting to make a project like this for your own music lover. Click the link below to be taken to the shop purchase page.
Do you have a little music lover in your house? I think they’d love a new music bag!
Happy Cutting!
Liz


Leave A Reply!