This is a sponsored conversation written by me on behalf of Cricut. The opinions and text are all mine.
Making cute holiday decor, like this Christmas truck sign, is one of the reasons I love my Cricut Explore Air 2.

This post contains affiliate links which mean I make a little something when you purchase through the link with no extra cost to you.
Making cute shirts with iron on vinyl is probably my number one use in crafting with the Cricut Explore Air 2. I absolutely love how well it cuts vinyl and the ease of crafting with vinyl. But I wanted to show a little more of what the Cricut Explore Air 2 could cut and a fun holiday project you could make using the Explore Air 2.
For this Christmas Truck Sign you will need:
Bonded Fabric
Canvas or Reverse Canvas
Jingle Christmas Truck Sign Design
Christmas Truck Sign
Once you click on the Jingle Christmas Truck Sign Design it will open up in Cricut Design Space. Click customize and resize the design to fit your canvas. Click make it and the design is ready to cut. For this project I used bonded fabric for the truck, tree and trunk. Adhere heat n bond onto the fabric of your choice in order to cut fabric with the Cricut Explore Air 2. If you don’t want to use fabric, you can select any of the Explore Air 2 options of materials. Which you can see when you browse all the materials when Cricut Design Space is set to Explore family.
Once you decide on the materials you want to use, put that material onto a cutting mat. If you are going to use iron-on, make sure to mirror image the cutting mat and place the iron-on face down (shiny side) onto the mat. If you are going to use bonded fabric or felt, those materials do not need to a mirror image and can be cut face up. Load the corresponding mat into the machine when Design Space changes mats and make sure you select the correct material for each mat before cutting.
Weed your iron-on vinyl so that only design is left on the protective plastic sheet. Lay all your pieces down onto your canvas. I purchased a canvas that was already disassembled and ready for creating a reverse canvas. But if you buy a regular canvas, follow this tutorial on how to make a reverse canvas from a regular painters canvas. It’s really easy.
Set your EasyPress 2 for the correct temperature when using bonded (or fusible) fabric and cotton canvas. You can find that information really easy on the Cricut EasyPress Heat Guide. Press the canvas for the suggested amount of time. Make sure that the iron-on is always covered with some sort of protective sheet before placing the EasyPress onto it. Bonded fabric doesn’t need a protective cover.

Remove the plastic cover from the iron on vinyl and set the canvas aside. You don’t have to do this next step, but I wanted to add a little color to my canvas so I painted the frame. Once it was dry, I used hot glue to attach the canvas to the back of the frame.
5 Reasons I Love My Cricut Explore Air 2
The Cricut Explore Air 2 has so many crafting capabilities. Making cute holiday and everyday decor is just one of the many reasons. Here are 5 more reasons I love my Cricut Explore Air 2.

Color Options
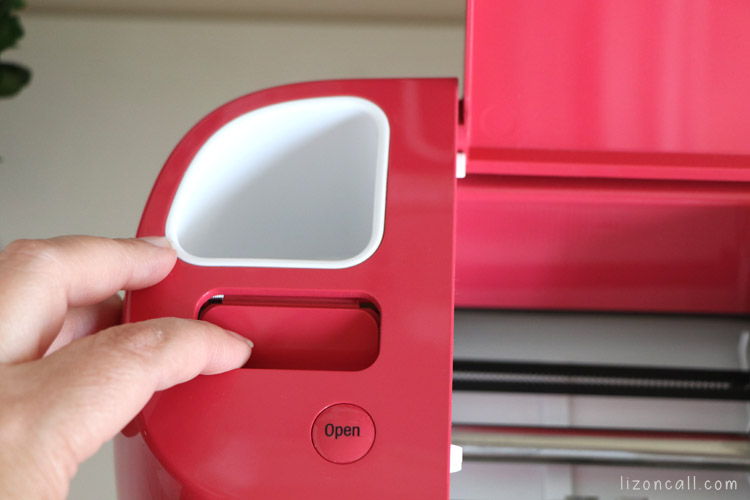
I love love love all the colors the Explore Air 2 comes in. I had the original Mint color a few years ago, but when they brought out all the new colors, I had to go with the red. It’s more a raspberry red than a true red red. But it is so pretty and I love having it in my craft room. It might sound weird, but it makes me happy to craft with it. You can find an Explore Air 2 in your favorite color and I bet it’ll make you happy to craft with it too. Just look at some of these amazing colors!

Cricut Explore Air 2 has Bluetooth
Let’s talk bluetooth. I love that I don’t have to have my machine hard wired to my computer. That means I can create in Design Space from from couch on my laptop, from my bed on my iPad or in my office on my desktop and still be able to make my project. Once I have linked the Cricut Explore Air 2 to any of my devises, I can cut with ease and not have to worry about plugging in the machine. Less cords means you can use your machine in any room of the house. All you need is the power cord.
Cuts Many Materials
The Explore Air 2 has 3 blade options. The fine point blade is the blade used most often. It’s the blade that cuts vinyl, iron-on vinyl, cardstock, paper and more. There is the deep cut blade. Used for cutting thicker materials. And the bonded fabric blade. I think that one is pretty clear on what it can cut. 🙂 But there are so many materials that this machine can cut. I even wrote a post about it – What Can Cut with My Cricut.

But what is even cooler, you can set the machine setting to the explore family in Design Space and ALL the materials the Cricut Explore Air 2 can cut will show up when you browse the cutting material. No more guess work on if your machine can cut something! Cutting fabric has always been a big question when it comes to the Explore Air 2. As long as the fabric is bonded, you can cut it. And even if you don’t have the bonded fabric blade (which is pink), you can cut bonded material with the fine point blade. Like I did in the Christmas Truck Sign project above.
Dual Clamps for Multiple tools

I love the dual clamps. I can write and cut without having to change out the pen for the blade and vice versa. Same thing for when I’m creating a project to be scored. The scoring stylus and the pens fit perfectly into clamp A. Leaving your blade in clamp B to do all the cutting. You will have to change out the tools in Clamp A if you change colors of pens if there is writing and scoring in your project.
Watch for the tool changes in Design Space to know when and what pens to use. When the machine pauses, look at your cutting screen and it will tell you what color and size of pen to put into the clamp. The pens will click into place and then you can close the clamp. It takes a bit of elbow grease to pull the pens out. They are nice and tight in there, creating a nice clean line as it draws your design.
Cartridge Slot to Link Cartridges
I can’t even remember when I bought my original Cricut. I can’t even remember the name of the machine. It was one of the first ones ever to come out. I would only cut designs 6 inches tall, maybe 8 and I had to buy all those cartridges with the little keypad overlays to cut anything with the machine. I wish I had a picture of it.
At any rate, I bought a LOT of cartridges so I could have options when I wanted to use Cricut. So when all the new machines came out, and Design Space came on the market, I knew it was time for a change in cutting machine. But I still had all those cartridges that I wanted to be able to use. Luckily the Explore Air 2 has a handy little slot to insert those cartridges.
As I was Setting Up The Cricut Explore Air 2 when I first got it, I was able to link all those cartridges to my Design Space account. Now they are all available to me and I don’t have to use the actual cartridge itself. Just know that once a cartridge is linked to one account, it can’t be linked to another.

The Cricut Explore Air 2 is just a really great cutting machine. There are so many other reasons I love it. I the option to cut some materials faster. The material option selector knob for the most common materials. It’s precision cuts and more! I use my machine all the time. Granted, it’s part of my business, but I would use it all the time, even if it wasn’t. Remember I bought the original machine, long ago that was super slow to use, no options with design, and still used it? Yep, I still love a Cricut cutting machine.
If you were to get a Cricut Explore Air 2, or if you have one already, what are your top 5 reasons you love the Cricut Explore Air 2? Do we have the same reasons?
Happy Crafting!
Liz


Liz Call
Owner at Liz on Call
- Free Mom Cut File
- Bunny Cut File
- Floral Heart Cut File
- Funny Quote Cut Files
- Layered Ornament SVG Files
- DIY Birthday Banner with Cricut
- DIY Nightmare Before Christmas Shirts
- No Sew Disney Cruise Fish Extender DIY
- Shamrock Party Punch
- Minnie Mouse Headband Tutorial
- Easy Mickey Mouse Shirt Tutorial
- How to Make a Big Bow for a Wreath

Leave A Reply!